
The ALPS Mountaineering Lynx 1 is worth considering if you want a compact solo tent with a freestanding frame and a separate rainfly, and you are comfortable carrying a little over four pounds of shelter. Its main buying decisions are straightforward: will the narrow sleeping space suit you, does its packed weight fit your trip, and do you need the matching footprint?
This guide focuses on the Lynx 1 in Gray/Navy, model 5024650, and the separately sold Navy Lynx 1 footprint, model 7711913. Check those model numbers when ordering; Lynx tents and footprints are also sold in other capacities and colors.
ALPS Mountaineering Lynx 1: the important specifications
ALPS lists the following dimensions and weights for this version. Use the total weight when making an initial packing plan, rather than assuming the minimum figure represents everything you will carry.
| Detail | Lynx 1 Gray/Navy |
|---|---|
| Floor dimensions | 90 inches long × 32 inches wide |
| Peak height | 36 inches |
| Floor area | 20 square feet |
| Vestibule | 10 square feet; 32-inch depth |
| Minimum weight | 3 pounds 5 ounces |
| Total weight | 4 pounds 1 ounce |
| Packed size | 17 inches long × 5 inches in diameter |
| Frame | Two 7000-series aluminum poles; freestanding design |
| Entry and storage | One door, one vestibule, interior pockets and gear loft |

ALPS Mountaineering Lynx 1 Tent, Model 5024650, Gray/Navy, 1-Person, 1 Tent
As an Amazon Associate we earn from qualifying purchases.
Who this tent is likely to suit
The Lynx 1 makes the most sense for a solo camper who values a conventional pole-supported tent and does not want to spend the trip managing a large shelter. Its small floor footprint is useful when the sleeping area matters more than room to spread out. The vestibule gives wet boots or a pack somewhere outside the sleeping compartment, subject to conditions and local food-storage rules.
It is less appealing if your main goal is the lowest possible pack weight, or if you want to keep a large backpack, a dog and your sleeping system inside together. Before buying any one-person tent, lay out your actual gear. A capacity label cannot tell you whether your preferred sleeping position and belongings will fit comfortably.
Check the floor plan with your sleeping pad
A 25-inch-wide pad leaves seven inches of nominal floor width within a 32-inch floor. A 30-inch pad leaves only two inches. Those are simple floor-plan differences, not guaranteed usable gaps: sloping walls, pad thickness and a lofty sleeping bag affect the space above the floor.
Tape out a 90-by-32-inch rectangle at home. Put your pad and sleeping bag inside it, then lie down, turn over and sit up. This will not reproduce the roof shape, but it quickly reveals whether the floor is too narrow for you. Taller campers should also allow room beyond the ends of the pad for the sleeping bag without pressing it against the tent wall.
Plan around the whole shelter weight
The gap between the published minimum and total tent weights is 12 ounces. Do not compare one tent’s minimum weight with another tent’s fully packed weight. Decide which stakes, bags, guylines and ground protection you will actually bring, then weigh that complete kit before a long trip.
The matching footprint adds a manufacturer-listed eight ounces. Adding that to the tent’s published total gives 4 pounds 9 ounces before any extra stakes or repair supplies. That is a useful planning number; your own scale is the final check.
Rain protection, airflow and realistic weather expectations
The fly is 75D polyester with a 1,500 mm coating, while the floor is 75D polyester taffeta with a 2,000 mm coating. ALPS specifies factory-sealed fly and floor seams and half-mesh walls. These construction details describe the shelter; they do not establish a storm-proof guarantee or a safe wind limit.
The selected listing describes a three-season tent. Plan for the forecast and campsite exposure rather than treating the word “Mountaineering” in the brand name as a snow-load rating. For sustained snow or severe exposed conditions, choose equipment explicitly designed for those conditions.
Condensation can still develop inside a tent with a waterproof fly. Moisture from breathing and wet clothing can collect on a cool surface. REI’s condensation guidance recommends ventilation, minimizing wet gear inside and maintaining space between the fly and inner tent. Open the available vents as conditions allow, tension the fly properly and avoid pushing bedding against damp fabric. A wet inner surface alone does not prove that rain has leaked through.
The matching Lynx 1 footprint
The ALPS footprint specifications identify the Navy model 7711913 as the Lynx 1 accessory. It measures 87 × 29 inches, weighs eight ounces and uses polyester fabric with grommet/male-buckle corner attachments.

A footprint is an extra layer against dirt and abrasion underneath the tent floor. It is deliberately smaller than the floor, so it should not project beyond the tent and collect runoff. It does not add sleeping space, turn the vestibule into an enclosed floor, or replace careful campsite selection.
ALPS says footprints are sold separately. Check the contents of any bundle rather than assuming a photo of a groundsheet means one is included. A Lynx 2, Lynx 3 or generic ALPS footprint is not automatically the correct accessory for a Lynx 1.
Set it up at home before the first trip
- Check the parts. Lay out the tent body, fly, poles, stakes and guylines. If you bought a footprint, confirm its model separately.
- Practice the full pitch. Assemble the frame, attach the body and fit the rainfly using the supplied instructions. ALPS provides a Lynx-series assembly video and guyline tutorials.
- Stake and tension the shelter. Freestanding describes the frame’s ability to hold the body up; it does not remove the need to secure the tent, vestibule and guylines outdoors.
- Try the interior with your gear. Check door access, where you can sit up, and whether your sleeping bag touches the walls.
- Repack everything you need. Confirm the actual carry weight and where the pole bundle will fit in your backpack.
Keep cooking outside the tent and vestibule, well clear of the fabric. Fuel-burning equipment can create a carbon-monoxide hazard in enclosed spaces; the CPSC’s camping-equipment guidance explains the risk. Ventilation openings do not make an enclosed cooking setup a good idea.
Care and replacement parts
ALPS recommends spot cleaning instead of machine washing and thoroughly drying gear before storage. After a wet trip, unpack the tent at home and let the body, fly and footprint dry completely. Storing a damp bundle saves a few minutes now but creates a much harder cleanup later.
The company says new tents already receive seam sealing and waterproof coatings during manufacture, so routine treatment before the first use is unnecessary. Inspect an older tent’s seams and coatings before a trip, and get material-specific advice before applying a repair product.
For replacement poles or a fly, ALPS asks for identifying information from the white tags on the tent, fly or carry bag. Photograph those tags while they are readable and keep them with the purchase record.
Is the Lynx 1 the right choice?
Choose this version if the narrow solo floor plan suits your gear and the complete carry weight fits your route. Choose a roomier shelter if you want substantial indoor storage or more freedom to move. The most useful pre-purchase check is a taped-out floor plan followed by a full practice pitch while you still have time to evaluate the tent at home.
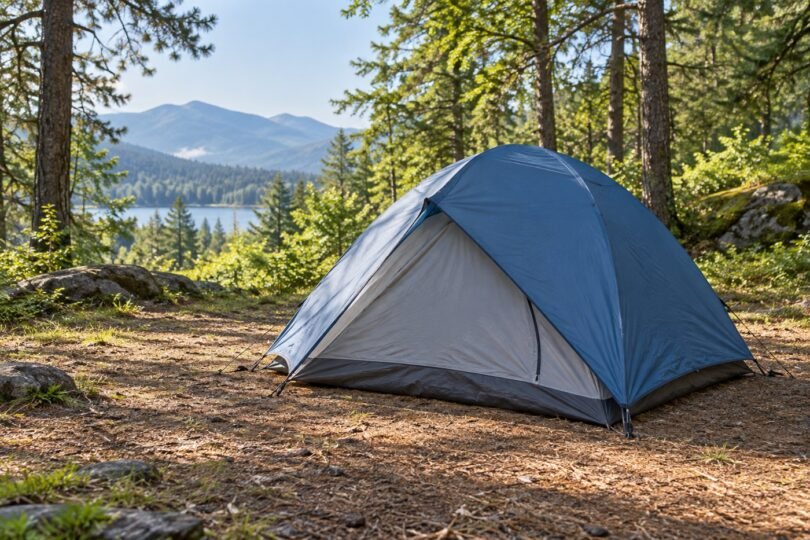
Image note: AI-generated editorial illustration; not a photograph of a named product or an installation/compatibility diagram.