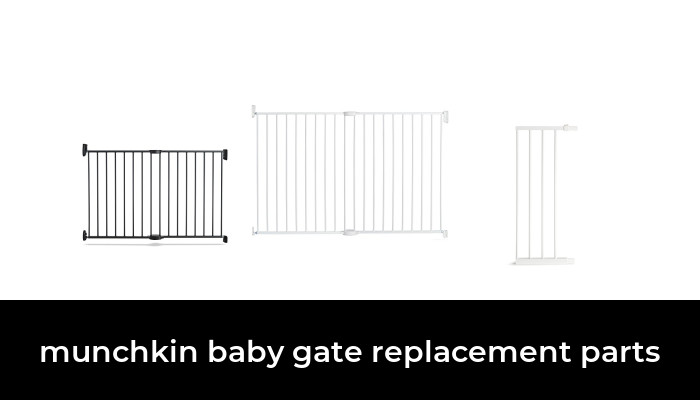

The right Munchkin baby gate replacement part is the one specified for your gate’s model and version. Start with its label and instruction manual, then ask Munchkin to confirm the part. A screw that fits a hole, or a listing that says “universal,” is not enough evidence for a child-safety gate.
Stop using a gate with missing or damaged parts until it is correctly repaired. Keep children away from the unprotected opening in the meantime. This guide helps identify the component, find the official support route, and avoid ordering the wrong hardware.
Where to get Munchkin baby gate replacement parts
For US owners, use Munchkin’s official contact page. It lists customer service at 1-800-344-2229 and cserv@munchkin.com. Have your gate’s model number, batch or date code, photos, and purchase details ready. Ask whether a replacement is available for your particular gate; a listing for another Munchkin product does not establish compatibility.
UK owners can start with Munchkin’s gate extensions and accessories section. The company’s FAQ directs spare-parts questions to careline@munchkin.co.uk. UK and US product ranges differ, so confirm compatibility and local availability rather than ordering from another region because the brand matches.
No generic replacement-kit recommendation is included here. For parts that hold a safety barrier in place or keep its door latched, an exact manufacturer-confirmed match is more useful than a long list of similar-looking Amazon products.
Identify your gate before identifying the spare
Photograph every label you can find on the gate, including information on its underside or frame. Preserve the labels; do not remove them during cleaning. Gather the following:
- Product name and model number: Copy them exactly, including any suffix.
- Batch, serial, or date code: Different production versions may require different components.
- Country of purchase: It helps support locate the correct manual and parts range.
- Mounting type: Note whether the gate uses pressure adjusters, screwed-in hinge and latch brackets, or another system.
- Missing part’s position: For example, upper hinge-side plug or lower latch-side wall cup.
- Installation details: Include opening width, extensions currently used, and whether the location is a doorway or staircase.
Take one photo showing the complete gate, one of the label, and a close-up of the problem. If an identical component remains on the other side, photograph it without dismantling a working installation unnecessarily. Do not rely on color alone; white and gray parts can look almost identical across different gate families.
Common parts and what they do
Adjustment rods, spindles, and locking nuts
These are the projecting components used to position or tension some pressure-mounted gates. Marketplace sellers may call them spindle bolts, tension rods, or screw adjusters. Those names do not specify thread size, engagement, pad shape, usable length, or compatibility with the gate’s inserts.
A useful example is Munchkin’s Auto Close Modern model 46764 manual: its adjustment rods slide into the plug holes rather than screwing into them. That is a good reason to consult the correct diagram instead of forcing a replacement into place.
Top and bottom plugs or bungs
These inserts fit into frame corners and help locate the adjusters. Munchkin UK’s Top & Bottom Plug Set contains one top plug and one bottom plug, with the adjuster sold separately. The company identifies it for its pressure-fit gates and notes that the supplied color can vary.
That pack description does not mean a buyer receives a full four-corner hardware kit. Confirm the required position and quantity, particularly if you need both left and right sides or are rebuilding a gate after a move.
Wall cups and mounting hardware
Wall cups receive the ends of pressure adjusters. They should not be confused with the plugs fitted inside the frame. Installation requirements can include cups, pads, screws, and fixings suitable for the mounting surface. Use the exact manual: a pressure-mounted product is not automatically a no-drill installation.
A broad wall protector sold to reduce paint marks is not automatically a substitute for a required wall cup. Before adding any accessory between the gate and wall, ask whether the manufacturer permits that combination.
Extensions and extension connectors
An extension increases the gate’s span within the manufacturer’s allowed configuration. The panel, connectors, and permitted combinations matter together. Longer adjusters cannot simply replace a required extension. Measure the opening where the gate will actually sit, including any baseboard difference between upper and lower mounting points.
Latches, hinges, and structural pieces
For a cracked latch, bent frame, damaged hinge, or broken weld, stop using the gate and ask Munchkin whether the component is serviceable. Do not repair a child-safety latch with glue, wire, a cable tie, or a 3D-printed substitute. If the approved component is unavailable, replacing the gate is preferable to improvising its locking or support system.
Before assuming the latch is broken
Some pressure gates have a visible gap between the door and frame before installation. Munchkin explains this in its Auto Close Modern instructions: correct installation closes the gap. A new gate that looks open at the handle may therefore need the prescribed installation procedure rather than a new latch.
Conversely, do not explain away damage as “normal tension.” A latch that fails to engage after correct installation, a frame that has been bent, or an adjuster that cannot hold its position needs assessment. Do not keep tightening beyond the manual’s limits to compensate for a wrong part or an unsuitable opening.
Stair locations need particular care
Munchkin’s UK guidance recommends a wall-mounted gate for the top of stairs and says gates with fixed floor bars should not be used there. Some older, model-specific manuals differ from that general guidance. If the instructions you have conflict with current advice, ask Munchkin to resolve the exact model and installation before using the gate at the stairs. Select a model expressly intended for the location and follow its mounting instructions. Adding aftermarket screws or pressure pads does not establish approval for stair-top use.
Also check the gate’s child age and ability limits. A replacement part does not make the barrier suitable once the child can climb over or dislodge it. Gate maintenance and supervision remain necessary after a repair.
A useful message to send customer service
“I need a replacement part for Munchkin gate [name and model], batch/date code [code], purchased in [country]. The missing or damaged component is [description and location]. I’ve attached photos of the label, whole gate, and part. Please confirm the correct part number, quantity, included fixings, and installation manual. If that part is unavailable, should this gate be replaced?”
Once the part arrives, compare it with that confirmation and the manual before installation. Keep small components away from children, follow the complete setup procedure, and check that the gate is firmly mounted and closes and locks as instructed. If anything does not match, pause the installation and ask Munchkin before relying on the barrier.
Image note: Existing category illustration retained from original article.