


Window plastic for winter works best as a removable, indoor draft barrier on a sound window you can leave closed for the season. Choose the kit by its actual film dimensions, the surface where the tape will stick, and the windows you must keep usable. A “five-window” box does not necessarily cover five windows in your home.
The Department of Energy recommends clear plastic film as one way to reduce airflow and energy loss around drafty windows, while maintaining proper ventilation. These kits stretch across the interior frame and shrink with a hair dryer. They are different from solar-control films applied directly to glass.
Measure the taped perimeter before choosing a kit
First identify a continuous, compatible mounting surface around all four sides. Measure the width and height between the outer edges of the planned tape lines, including the sill where applicable. Measuring only the glass or the movable sash can leave you short.
Add the allowance specified by your kit. For example, Frost King’s printed instructions require at least 1 inch of film beyond each edge. A taped perimeter measuring 36 × 60 inches therefore needs a piece at least 38 × 62 inches. A nominal 42 × 62-inch sheet cannot cover a 42 × 62-inch taped perimeter with that allowance.
For continuous film, sketch your cuts before opening the package. Account for every window, offcuts, installation allowance and tape length. An oversized picture window may require a larger kit even when the total square footage seems sufficient.
Three indoor window-film kits to compare
3M 2141W-6: five-window kit

3M 2141W-6 Indoor Window Insulator Kit, Five Windows, Pack of 1
As an Amazon Associate we earn from qualifying purchases.
Film size: 62 × 210 inches. Advertised coverage: five 3 × 5-foot windows. 3M confirms the five-window coverage and includes its Scotch window-film mounting tape. This is a straightforward option when your measured cuts fit one continuous sheet. “Five pack” in the listing refers to window coverage; select the five-window, one-kit variant.
Duck 286217: 62 × 210-inch five-window kit
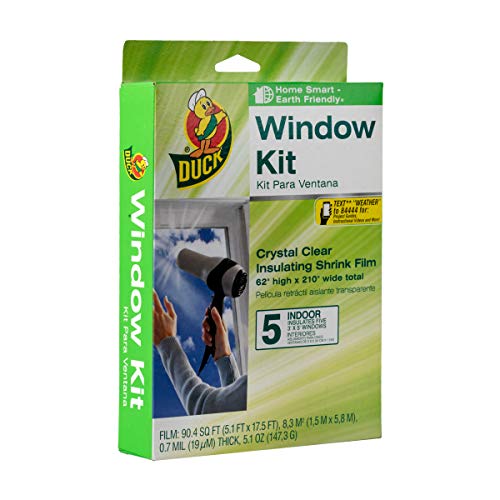
Film size: 62 × 210 inches. Advertised coverage: up to five 3 × 5-foot windows. This specific listing is the conventional shrink-film kit, supplied with double-sided tape. Duck also sells rolled and pre-taped products, so check the model and installation method rather than assuming every green box is identical. Choose this version when cutting the film to your measurements suits the job.
Frost King V73/9H: nine individually sized sheets
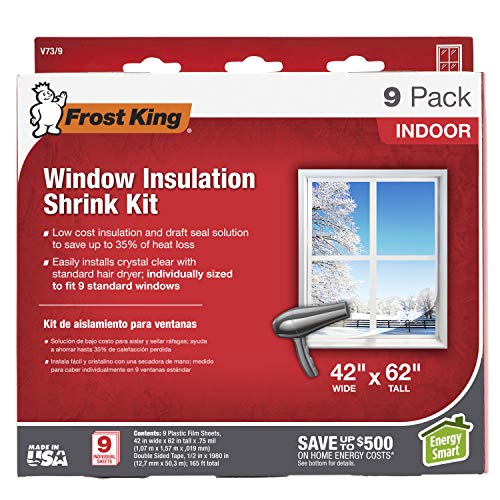
Film size: nine separate 42 × 62-inch sheets. Frost King lists this exact V73/9H configuration. Separate sheets simplify planning for several similarly sized windows. The tradeoff is fixed sheet dimensions: the nine-window count offers no help if even one taped perimeter is too large.
Check paint and tape compatibility
Use the supplied indoor window-film tape on surfaces approved for that kit. 3M’s indoor mounting tape supports painted wood, aluminum and vinyl-clad molding. Duck permits painted or finished wood, aluminum and vinyl; its instructions exclude plaster, drywall and unfinished wood. Frost King also excludes wallpaper, wallboard, plaster and veneer.
Test an inconspicuous spot first, especially on aging finishes. Avoid loose or peeling paint, and let fresh paint fully cure according to its manufacturer before applying adhesive. “Removable” does not guarantee damage-free removal from every finish. Renters should check permission before taping trim.
Install carefully, then inspect the seal
- Clean and thoroughly dry the approved mounting surface. Duck specifies a surface temperature of at least 40°F for its window-kit tape.
- Apply tape continuously around the perimeter and press firmly. Follow the package’s waiting time and attachment order.
- Attach the film with the required overhang. Smooth it onto the tape without excessive tension.
- Shrink with a hair dryer following that kit’s directions. Frost King specifies keeping the dryer 4–6 inches away. Never touch the film with the hot dryer or substitute a heat gun.
- Trim excess and inspect corners. Over-shrinking can pull tape loose; more heat will not fix a dirty mounting surface.
Keep ventilation and escape routes available
Do not cover a required emergency escape window or an exit door. The U.S. Fire Administration says to keep doors and windows unblocked. Do not rely on tearing through film during an emergency. Leave required vents and ventilation openings unobstructed.
Check behind the film for persistent condensation. The EPA recommends controlling moisture with measures such as kitchen and bathroom exhaust; very cold conditions can require lower indoor humidity. If water accumulates, remove the film as needed to dry and investigate. Plastic does not repair cracked glass, rotten frames or rain leaks.
Remove it when the season ends
Warm the taped edge gently with a hair dryer and peel slowly, following the manufacturer’s removal guidance. Test any residue cleaner against the finish. Inspect the window before the next installation and use appropriate fresh tape. Treat shrink film as seasonal draft control, with results depending on the window, seal and home.


