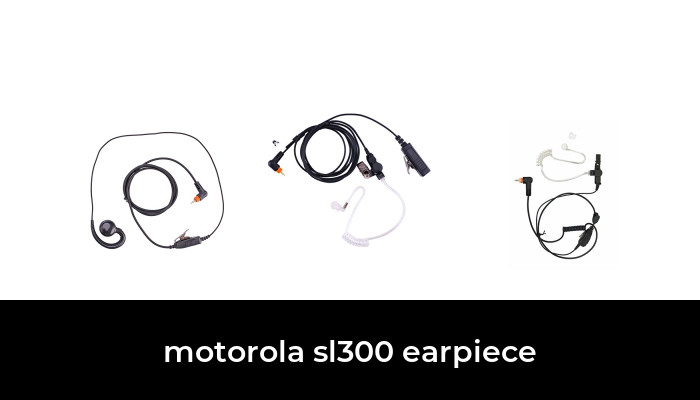
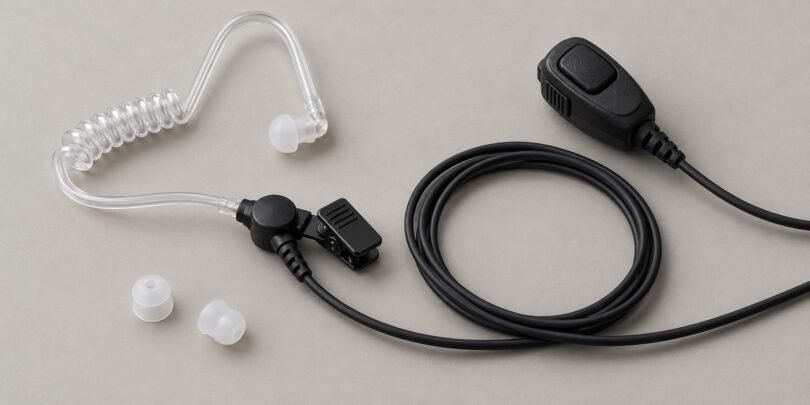

The right Motorola XTS 1500 earpiece starts with the connection path. You can use a compatible microphone-and-earpiece kit connected to the radio, or add a receive-only earpiece to a compatible remote speaker microphone. Those arrangements do different jobs, even when both end in a similar-looking clear acoustic tube.
Before buying, identify the radio, the existing speaker microphone if you use one, and every adapter in between. A listing that says “Motorola compatible” is too broad. The useful evidence is an exact accessory part number matched to the XTS 1500, plus a clear explanation of where the microphone and push-to-talk button are located.
Three starting points for an XTS 1500 setup
- Complete lapel-mic kit: Earphone Connection Hawk EP1323EC, with the XTS-compatible connector configuration.
- Legacy Motorola surveillance kit: BDN6729A or BDN6730A, with the specified BDN6676D radio adapter.
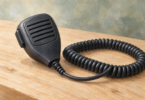
- Listening through an existing speaker mic: Motorola RLN4941A, only after confirming that speaker microphone’s earpiece compatibility.
These are different buying routes, not interchangeable plugs. Also remember that Motorola lists the XTS 1500 as discontinued. An archived compatibility listing can establish the intended connection without establishing present stock, warranty coverage, or the condition of a particular seller’s inventory.
Confirm the connector before comparing earpieces
Earphone Connection’s radio connector chart places the XTS 1500 in its 23EC multi-pin group. The same chart places APX models in the 34EC group and common CP200/CLS models in its 03 two-pin group. These numbers are that manufacturer’s connector designations; they are not universal accessory standards.
That distinction is why an APX headset or a two-pin business-radio earpiece should not be substituted simply because the brand name matches. Compare the exact radio model in the manufacturer’s chart, the connector photograph, and the selected option in the seller’s basket. All three should agree.
A 3.5 mm plug can describe the connection to a speaker microphone or a dedicated adapter. It does not establish a direct connection to the XTS 1500. Avoid solving an unclear listing by adding a generic headphone adapter; obtain a documented end-to-end combination instead.
Hawk EP1323EC: an acoustic-tube kit with lapel microphone
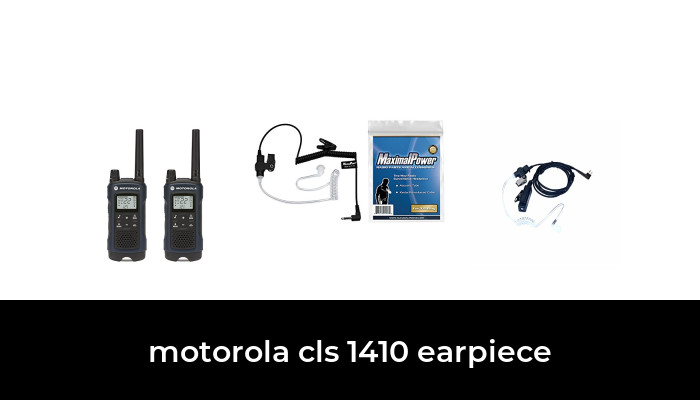
The Hawk EC acoustic-tube kit combines an earpiece with a lapel microphone and push-to-talk control. The manufacturer describes a clear acoustic tube, Fin Ultra eartip, and its Easy-Connect arrangement. Its product connector chart explicitly maps the acoustic-tube EP1323EC to the XTS 1500.
This is a sensible starting point if you want both listening and transmitting through a compact wearable accessory rather than keeping a shoulder speaker microphone as the transmit control. Before ordering, confirm that the chosen package includes the radio-side adapter as well as the lapel-mic assembly. A replacement microphone without its adapter is not the same purchase as a complete kit.
Suffixes matter. The same chart distinguishes EP1323EC-W and EP1323ECM1 as other earpiece styles. Do not transfer a tube, eartip, or replacement-part assumption from one style to another. Likewise, a retailer’s older QR-labelled bundle should be checked by its full part number and contents rather than treated as identical to the current EC package.
Motorola BDN6729A and BDN6730A: check the adapter
Motorola’s XTS 1500/2500 accessory catalog lists BDN6729A as a black two-wire kit with combined microphone/PTT and BDN6730A as a black three-wire kit with separate microphone and PTT. The catalog specifies the BDN6676D 3.5 mm threaded radio adapter for the surveillance accessories described there.
Choose between these layouts according to where you need the controls. A combined microphone and button keeps the arrangement simpler. A separate PTT lets you place the transmit switch independently, but adds another cable and another component to position. Neither layout automatically guarantees a better fit under your clothing or equipment.
For older inventory, ask the seller to identify the complete kit, adapter suffix, included earphone, and replaceable parts. Have your radio supplier verify any proposed substitute or superseded part number. A used kit can look complete in one photograph while missing the small adapter that makes the connection possible.
Motorola RLN4941A: receive-only through a compatible speaker mic
The RLN4941 is an acoustic-tube receive-only earpiece with a 3.5 mm connection intended for a remote speaker microphone. It does not add a microphone or transmit button to the tube assembly. Your existing speaker microphone remains the place where you speak and operate PTT.
The XTS accessory catalog specifically lists the RLN4941A with the RMN5038A remote speaker microphone. Use that as an exact compatibility reference, not as permission to assume every Motorola microphone with an apparent audio socket is equivalent.
This route is worth considering when you already have a working, approved shoulder-mic setup and only need received audio at your ear. Write down the microphone’s label before shopping. Ask whether its jack accepts the selected earpiece and whether the complete arrangement meets your organization’s requirements. Buying an earpiece first and identifying the microphone afterward reverses the most important check.
Ear fit is a separate compatibility question
A correct radio connector does not guarantee a comfortable eartip. Decide which ear you normally use, whether you prefer an open-style insert or a conventional tip, and how the cable will sit alongside glasses or headgear. Try the setup with your normal equipment while you can still return or exchange it.
Motorola lists right- and left-ear inserts in separate sizes: RLN4760, RLN4761, and RLN4762 are small, medium, and large right-ear options; RLN4763, RLN4764, and RLN4765 are the corresponding left-ear options. These are fit components, not complete radio headsets. Confirm their match to the tube assembly before ordering.
Do not judge fit solely by whether a tip stays in place for a minute. Check whether normal head movement pulls on the tube and whether the clothing clip can support the cable without tension. Avoid forcing a tip that does not fit; use the correct size or a different approved earpiece style.
Replacement tubes and everyday upkeep
Ask for the replacement tube’s part number at the same time as the headset’s. Motorola’s accessory replacement chart includes RLN4941 among the kits supported by the RLN6242 quick-disconnect low-noise tube assembly. That establishes a specific relationship; it does not make every clear coil sold online interchangeable.
For the Hawk, use the replacement assembly specified for the exact earpiece style. Check the tube connection, eartip attachment, and whether the package includes only the clear tube or also the speaker housing. Keep each user’s ear-contact parts identifiable when equipment is shared.
Follow the accessory maker’s cleaning instructions. If reception becomes quiet, inspect the removable tube for kinks, moisture, or blockage before assuming the radio has failed. Earphone Connection discusses tube contamination and moisture in its explanation of tubeless earpieces. Do not compensate for an obstructed tube simply by raising the volume.
Check the complete setup before relying on it
Comfort eartips should not be assumed to provide hearing protection. Motorola explicitly describes its NTN8371A low-noise acoustic-tube kit as offering none. If your workplace requires hearing protection or intrinsically safe equipment, have the responsible equipment specialist approve the entire radio, battery, adapter, and audio-accessory combination.
For an ordinary function check, use your organization’s authorized radio-check procedure. Confirm both directions of audio, locate the intended PTT, and move normally to check cable routing. If audio or the button does not behave correctly, stop and have the accessory combination checked rather than changing radio programming to accommodate an uncertain headset.
Keep a simple purchase record containing the radio model, headset part number, connector or adapter part number, ear side and size, and replacement tube number. That small list is more useful for the next order than a broad product title promising compatibility with dozens of unrelated radios.