
For a Raspberry Pi desktop, the official Raspberry Pi Keyboard and Hub is a sensible starting point. Choose a keyboard with an integrated touchpad if you want to avoid a separate mouse, or a 2.4 GHz model with a USB receiver if the Pi sits across the room. Check the connection and keyboard layout before worrying about backlighting or other extras.
The three selections below are input peripherals for an existing Pi. A Raspberry Pi 400 or 500 is a complete computer inside a keyboard, so buying one serves a different purpose. This comparison uses manufacturer specifications and exact product listings; it does not claim hands-on typing, range or touchpad testing.
Pick by where you use the Pi
- At a desk: the official US-layout keyboard and mouse pack gives you separate typing and pointing devices, plus a small USB hub.
- On a compact workbench: the wired Vilros VILP108 combines a keyboard and touchpad in one unit.
- At a TV or across a room: the wireless Vilros VILP023 removes the cable between the keyboard and Pi, but still needs its USB receiver and batteries.
If you already own a working USB keyboard, try it before buying another. A “Raspberry Pi” label is not essential for basic typing. The more useful question is whether the layout, size and pointing controls fit your project.
Official Raspberry Pi keyboard and mouse pack for desk use

PepperTech Digital Official Raspberry Pi Keyboard and Mouse Value Pack, US Layout, Red/White, One Keyboard and One Mouse
As an Amazon Associate we earn from qualifying purchases.
This exact PepperTech Digital pack contains the official red-and-white US-layout keyboard and matching wired mouse. The Pi computer is not included. Selecting the pack avoids confusing a keyboard-only listing with a full computer starter kit.
The official keyboard specification lists 78 keys for the US version and three downstream USB 2.0 Type-A ports. A USB-A-to-micro-USB cable connects the keyboard to the Pi. The separate mouse is useful when you have enough desk space and prefer moving a mouse rather than using a small touchpad.
Why choose it: compact desktop typing with easily reached ports for a mouse and other low-power peripherals. Trade-off: there is no full-size separate numeric keypad; a function of the keyboard’s Num Lock key turns certain letter keys into number keys. International variants also have different physical key layouts.
Connect the power supply directly to the Pi, then connect the keyboard to a USB data port. Raspberry Pi’s keyboard instructions specifically warn against trying to power the Pi through the keyboard. Its built-in hub also does not replace a separately powered hub when your attached devices require one.
Vilros VILP108 for a wired keyboard and touchpad
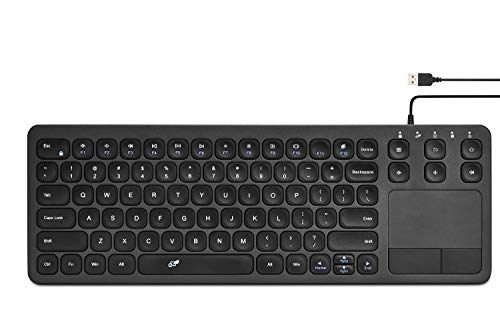
The Vilros VILP108 combines full-size keys with a touchpad on the right. It connects by a standard USB cable and does not require a wireless receiver or keyboard batteries. Vilros gives dimensions of 14.76 by 5.09 by 0.69 inches and a five-foot cord.
That makes it worth considering for a small Pi workbench, a temporary setup or a system where you want both typing and pointer control without finding space for a mouse. Check the available width, since the touchpad sits beside the keys rather than below them.
Why choose it: one wired device handles keyboard and pointer input. Trade-off: the fixed cable limits placement, and a touchpad may not suit everyone for repeated precise pointer work. The maker’s description does not establish how the keys will feel to you or guarantee that every special-function button works in every Pi application.
Vilros VILP023 for wireless control

The Vilros VILP023 uses a small USB receiver for its 2.4 GHz wireless connection. It is not a Bluetooth keyboard. Like the wired model, it has an integrated right-side touchpad and a roughly 15-inch-wide body.
Vilros specifies two AAA batteries, which are not included, and an operating range of up to 32.8 feet. Treat that distance as a manufacturer maximum rather than a promise for a room with furniture, a metal enclosure or radio interference. Make sure the receiver is included, particularly if buying a used or open-box unit.
Why choose it: a Pi connected to a TV, or another setup where a five-foot keyboard cable would be inconvenient. Trade-off: batteries and a receiver become additional things to maintain. It still occupies a USB port, and losing the receiver can be more troublesome than replacing a cable.
Check your Pi’s ports and software
On boards with full-size USB-A host ports, these keyboards connect through the cable or receiver described above. A Pi Zero-family board uses a smaller USB data connection and needs an appropriate USB OTG adapter for a USB-A accessory. Use the data port, not the power-only port. Raspberry Pi’s getting-started documentation explains the connections for different boards.
A Raspberry Pi Pico is a microcontroller board and should not be treated as an ordinary Raspberry Pi OS desktop. A keyboard purchase for a Pico project requires checking the specific firmware and USB-host arrangement.
Basic keys and pointer input are the priority. Media buttons, shortcuts and multi-finger gestures can depend on the operating system, desktop and application. A seller’s broad compatibility list does not prove that every extra works in your exact setup. For a custom operating-system image, check its input-device documentation before ordering.
Make the printed layout match the operating system
US and UK QWERTY layouts look similar, but punctuation positions differ. Buy the physical layout you expect to use, then set the same layout in Raspberry Pi OS. The official configuration documentation covers keyboard and localisation settings.
If letters work but punctuation is wrong, inspect the layout setting before assuming the keyboard is defective. If the official compact keyboard unexpectedly types numbers from some letter keys, check Num Lock. A quick test in a text editor can confirm letters, number-row symbols, brackets, quotation marks and the keys you use most often.
A practical setup and troubleshooting checklist
- Connect the keyboard or receiver to a known-working USB data port. For the wireless Vilros, install fresh AAA batteries and switch the keyboard on.
- Test typing and pointer movement before connecting extra peripherals or changing shortcuts.
- Check the keyboard layout and any active lock keys if the output differs from the legends.
- For wireless dropouts, try the keyboard closer to the receiver and move the receiver away from obstructions. Keep a wired keyboard available while diagnosing a first-boot problem.
- If several USB devices misbehave together, review the Pi’s power supply and peripheral power requirements rather than treating every failure as a keyboard issue.
Choose the official keyboard-and-mouse pack for a conventional desktop, the wired VILP108 for one-piece input without batteries, or the wireless VILP023 for more flexible placement. The connection, layout and pointer arrangement will make more difference to everyday use than an impressive list of unverified extras.
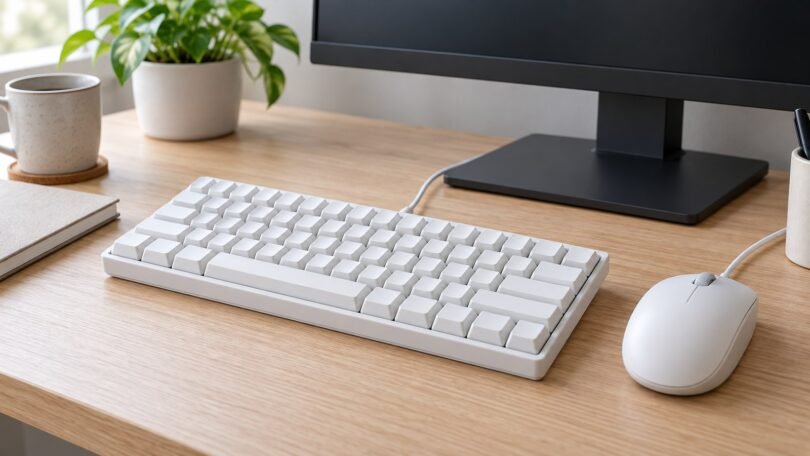
Image note: AI-generated editorial illustration; not a photograph of the named product.