
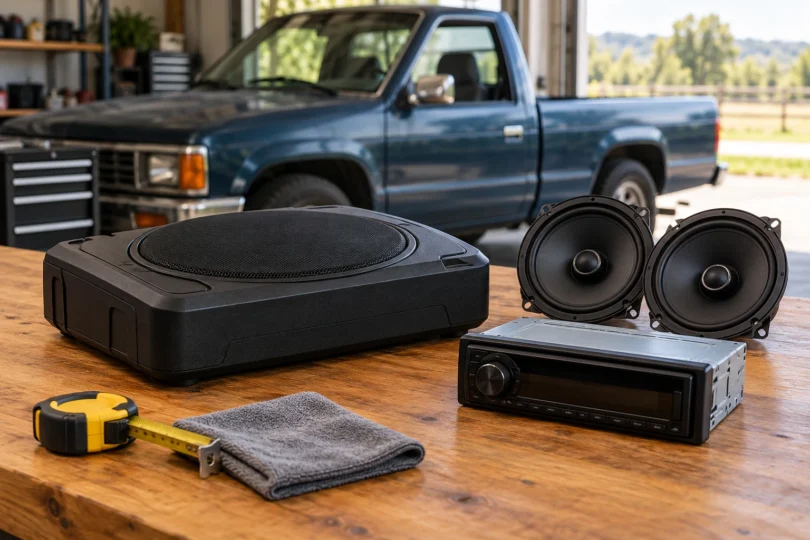

A good single cab truck sound system starts with usable space, clear front speakers and a clean signal from the radio. For bass, compare the compact Kicker 46HS10, the larger powered Rockford Fosgate P300-10, and the passive Kicker 48TCWRT102 with a separately chosen amplifier. Each serves a different installation plan; none is guaranteed to fit every regular-cab truck.
These are documented component choices for building a system, not complete vehicle-specific installation kits. We compare manufacturer specifications and manuals rather than claiming in-cab listening tests. Check your truck’s year, make, model, seats and existing audio equipment before ordering.
Three bass options for a single-cab system
| Exact model | Type and power | Nominal enclosure dimensions, inches | Main planning tradeoff |
|---|---|---|---|
| Kicker 46HS10 Hideaway | Powered 10-inch; 180 W RMS | 3-1/8 H x 9-7/8 W x 14 D | Low enclosure height; amplifier still needs ventilation |
| Rockford Fosgate P300-10 | Powered 10-inch; 300 W RMS | 13.3 H x 18 W; 8.9 bottom / 5.9 top D | Taller, deeper cabinet to measure behind the seat |
| Kicker 48TCWRT102 CompRT | Passive 10-inch plus passive radiator; final 2-ohm load; 200–400 W RMS recommended amplifier range | 11-13/16 H x 23-1/4 W; 6-9/16 bottom / 3-7/16 top D | Shallower wedge than the P300-10, but wider and needs a separate amp |
These cabinet figures are starting measurements, not minimum installation openings. Leave room for grille projection, connectors, brackets, ventilation and moving seats. The powered units contain their own matched amplifier; the CompRT enclosure requires an external one.
1. Kicker 46HS10: a compact powered starting point
The 46HS10 is the first option to measure if preserving cab space is the priority. Kicker’s 46HS10 manual specifies 180 W RMS and both speaker-level and low-level signal inputs. You do not need to buy a separate subwoofer amplifier for it.
The constraint: a 3-1/8-inch-high case is not permission to squeeze it into a 3-1/8-inch gap. The manual calls for at least 4 inches of open ventilation for the amplifier. Check the installation location through the seat’s full travel, including rails, wiring and any floor ducts.
Choose this route when the measured space and ventilation requirements work with your seating position. Confirm 46HS10 on the product label; specifications for another Hideaway generation should not be substituted.

Kicker 46HS10 Hideaway 10-Inch Powered Subwoofer, Black, One Unit
As an Amazon Associate we earn from qualifying purchases.
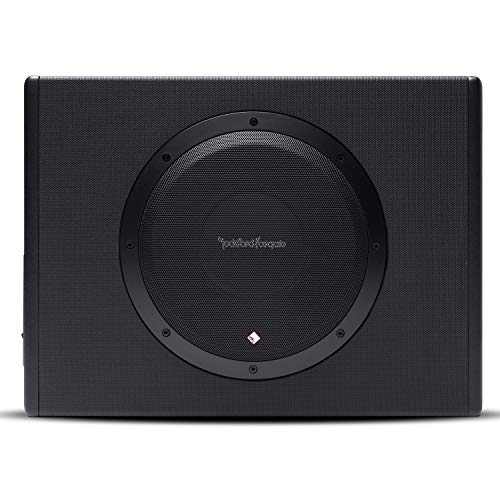
2. Rockford Fosgate P300-10: a powered wedge for more available space
The P300-10 combines one 10-inch subwoofer, a sealed cabinet and a 300 W RMS amplifier. Rockford Fosgate specifies separate low-level and speaker-level inputs and includes a remote bass-level control. It avoids the separate amplifier-matching step required by a passive enclosure.
The constraint: this is a substantially taller and deeper cabinet than the Hideaway. Measure the space behind the seat at both the top and bottom of the proposed location, with the seat where you actually drive. The manufacturer’s installation manual also requires at least 1 inch of space around the heatsink for cooling. Account for grille and connector projections beyond the nominal box dimensions.
Choose it when the cabinet can be secured without sacrificing safe seat operation. The P300-10 specifications are for this exact model; the P300-10T and P300-12 have different shapes or dimensions.
3. Kicker 48TCWRT102: a passive enclosure with a separate amp
The 48TCWRT102 combines a 10-inch CompRT driver and a passive radiator in one thin wedge. The two visible cones do not mean two powered subwoofers, and the enclosure has no built-in amplifier. Its single terminal presents a final 2-ohm load.
Its shallower bottom depth can help with a behind-seat layout, but the 23-1/4-inch width and separate amplifier also need space. The exact product page provides the inch dimensions above. The CompRT enclosure manual recommends 200–400 W RMS for the TCWRT10; verify dimensions on the supplied enclosure before finalizing a tight installation.
One documented amp pairing: the Kicker CXA400.1, part 46CXA4001, is rated at 300 W into 2 ohms. That falls within the enclosure’s recommended range. Its 400 W rating applies at 1 ohm, so this pairing is not a 400 W system. The amplifier is a separate purchase and measures 2-3/8 H x 6-3/4 W x 8-1/8 L inches, before wiring and cooling space.

Build the rest of the sound system around the truck
Keep or replace the radio based on the features you need
If the factory radio already does what you want, ask the installer whether a suitable signal can be integrated with the chosen subwoofer. Speaker-level inputs are useful, but they do not establish compatibility with every factory amplifier, processing system or turn-on arrangement.
If you want new phone-integration or playback features, choose the receiver after checking the dash opening, mounting depth, trim kit, harness and any controls or vehicle functions that need to be retained. A single-DIN or double-DIN label alone is not a complete fit check. Crutchfield’s installation-gear guide explains the role of vehicle-specific kits and interfaces. Include any required interface and adapter in the quote.
Choose front speakers for fit and the power available
Replacing worn or damaged front speakers can be a useful first stage before adding bass. Check the actual mounting opening, screw pattern, depth, grille clearance and window travel. Crutchfield’s speaker-fit guidance highlights mounting height, depth and tweeter projection. Select speaker impedance and continuous power handling to suit the radio or full-range amplifier that will drive them. Do not substitute a lower-impedance speaker simply because the diameter matches.
The CXA400.1 discussed above is a subwoofer amplifier. Plan a suitable full-range output for the front speakers separately. A subwoofer handles bass; it does not replace the speakers that reproduce vocals and the rest of the music.
What to measure and include in an installation quote
- Cab space: measure usable width, height, top and bottom depth with the seat adjusted for every regular driver. Include recline, rails, seat-belt hardware and access to required vehicle equipment.
- Signal and power: identify the radio, any factory amplifier and the chosen components. Have the installer specify the appropriate interface, power wiring, grounding and battery-side circuit protection from the exact manuals.
- Mounting and cooling: require secure enclosure and amplifier mounting, the specified ventilation and protected wire routes that cannot be pinched by seats or pedals. The installer must check beneath mounting surfaces for fuel, brake and electrical components.
- Final setup: include level, crossover and gain adjustment so the subwoofer works with the front speakers. Gain is not a volume control; operating with audible distortion is a reason to turn down and correct the setup.
For the smallest cabinet, begin by measuring for the 46HS10. If a larger powered wedge fits, compare the P300-10. Choose the 48TCWRT102 with a suitable amplifier when its thin shape suits the cab and you can accommodate both pieces. In each case, budget for the installation and any radio or front-speaker work needed to make the whole system useful.